Monday, June 2, 2014

Photo Leis for Graduations!

In Hawaii, graduations are a big thing. The graduate can expect to be covered in leis from friends and loved ones. Knowing this, I created a personalized lei for my special friends who are especially dear to me. Its very simple.
 First select pictures of the graduate. I looked for genuine happy, smiling pictures of our outings together. I selected at least one or more pictures that had her cousins in it, her selfies, her family, me and her at her new job.
 Once printed (fill 1 whole sheet, use photo paper), cut the photos apart into strips. Use a cutting board if possible. Then place clear packing tape directly over each picture.
 Like this.
 Smooth it out with a flat object. I used a pencil.
 Slide it over until there is no more bumps or bubbles. 
This is a great trick for toothpaste too!
 No more bubbles!
 Trim. I used a smaller cutting board this time.
 Trim all four edges for a clean look.
 Do the same for each photo.
 I like to double the pictures by glueing two pictures together. This is an option depending on how many pictures you have available.
I let the glue set over night. Then trimmed it to fit.
 Buy a cheap candy lei or make one yourself with whatever you want inside. I got this one at Walmart for less than $3. Once trimmed and dried, I lined the photos up to the lei and set aside.
I grabbed some pink raffia because she's a girl and its a festive color. Lol!
Punch holes in the photos and slide the raffia piece through. 
 Double knot it onto the lei.
 And repeat for each photo until you're done! 
"All done!"
"All done" with school too!

Thursday, May 29, 2014

Herbed Roasted Garlic and Tomatoes

Ohhh how I loved roasted ANYTHING. 
Slice any tomatoes, any size, any way you want. 
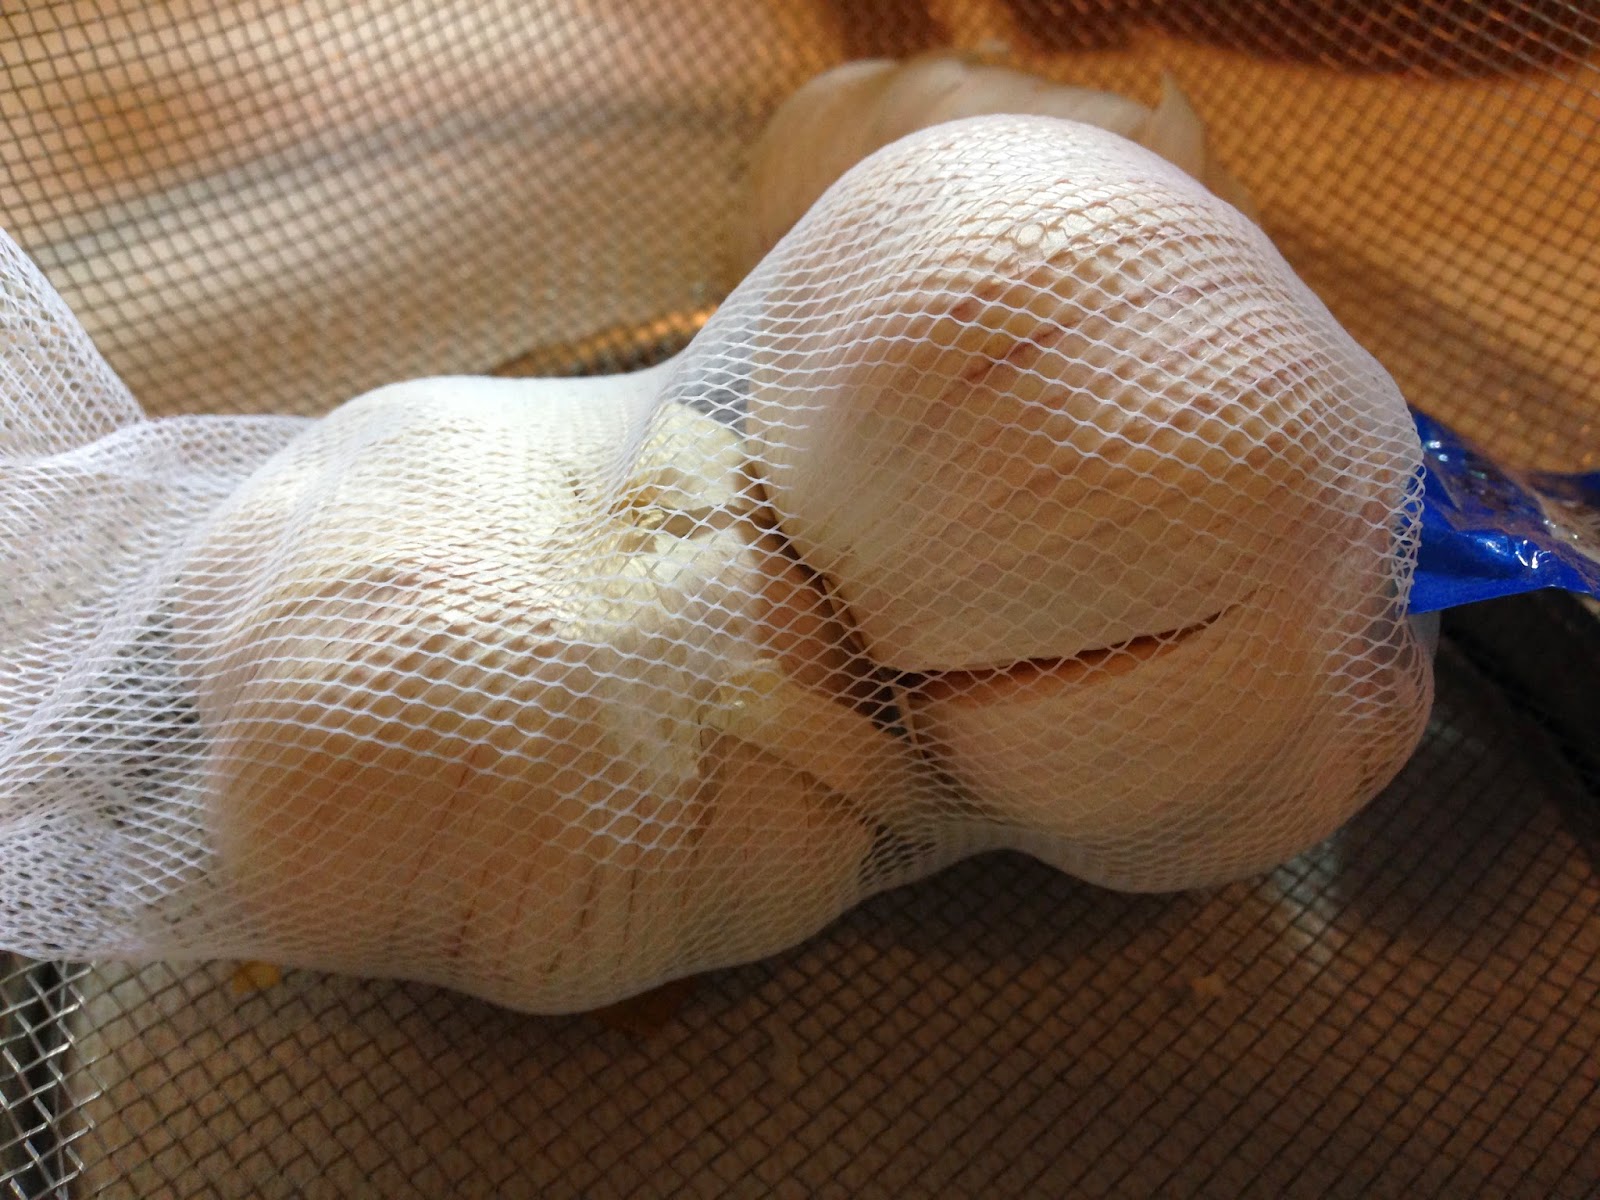
Break away the garlic cloves from the stem but DO NOT PEEL the skin. 
Place everything you want to roast in the pan. 
 Give it a generous amount of olive oil. I would just drench each piece as much as I could. 
 Season with freshly ground pepper and sea salt. Mmmm!
 Preheat the oven or toaster oven to 400 degrees F. 
 Go ahead and give it some fresh herbs. Here is some thyme from my garden. As well as some dried rosemary herbs from my pantry.
 I added other veggies as well, like eggplant. Again, drench each piece in olive oil and season.
 Set the timer for 20 minutes and you should be good to go!
 Can't wait!
20 minutes later! The garlic just pops right out of its skin and is soft and delicious! Ooh yummy garlic. I love you. You can't just pop one in your mouth. It is just THAT good! 

Hiyayashi (Cold Tofu)

I grew up in a Japanese-American household. My Mom is from Japan and my Dad is from Oregon. So growing up, Mom cooked American and Japanese meals everyday. 

Hiyayashi tofu is the one thing my American Dad really loves. My Mom makes it with soy sauce but I found something I love better, PONZU! 
Ready? 

Here we go!
First I peel a little skin off ginger. 
 Then grate a little (1-2 oz.) ginger (or daikon if preferred) over the top of the cut and drained soft tofu.
You can store ginger in the refrigerator for a long time in an air tight container sitting on a moist paper towel. 
 I love these radish sprouts from Safeway. I clean and cut off the roots with one big chop. 

(Other options: green onions, shiso leaf, cucumber, wakame, nori, cilantro, asparagus, parsley)
 Next drizzle the ponzu directly on the tofu. YUM! 
 Ponzu is a citrus sweet light sauce that can be often be used as a soy sauce replacement. 
 Next add a generous blob of bonito flakes (Katsuo-bushi). 
 Top with greens. 
 Add a little color and serve!

Here's a little fun experiment I did...
A taste test!
Looks like Korean was the favorite for my Mom and my husband. 


COLD TOFU INGREDIENT OPTIONS:

PROTEIN: Bonito flakes, ham, imitation crab/kamaboko, dried fish, ikura, bacon, roasted sesame seeds or nuts.

GREENS: Green Onions, radish sprouts, shiso, cucumber, wakame, nori, cilantro, asparagus, parsley, or prepared seafood salad from the store.

COLOR: Tomato, corn, pickled ginger, thin sliced radish, crispy fried onions, ginger or garlic.

SAUCE: Ponzu or yuzu kosho (citrus zest or juice), soy sauce, sesame oil, sugar or agave/honey.

PASTE: Wasabi, plum paste, sriracha, chili paste, anchovy paste. 


Perfect Garlic Bread -Grill or Baked

This is one of my favorite things to make for a party because who doesn't love garlic bread? And its so cheap and there's no dishes to bring back home. 

Its so great with pastas, soups, chili, stews, salads or by itself.

In this post, you will see several events of the the garlic bread. Whats your style? 
Before you start to decide if your going to grill or bake it, you can make the filling.
 If your butter is not softened, you can cut it into smaller pieces to speed up the process. I used 2 sticks of butter to make a little extra in the end. But you can do this with 1 1/2 sticks of butter. 
Here's my French bread freshly baked from Safeway. 
Allow the butter to soften, it'll make a world of difference!
Once the butter is soft, grab some shredded parmesan cheese, about 1 cup. Its always better if you grate it yourself but for the sake of time, I always have this handy bag of parmesan from Sams Club ready to go. It lasts many months in the freezer!
1/2 tsp. of black pepper.
About 3 or more garlic cloves, minced. I usually throw a bunch into a food processor ahead of time and just spoon some out when needed. 
And the herbs, preferably freshly chopped parsley. I used 1/4 cup of dried parsley because I didn't have fresh ones. You can also use cilantro, basil or any herbs you find in pizza seasoning. I was thinking of using rosemary next time. I'll keep this blog posted if I do...
Mix the softened butter, garlic, herbs, pepper, parmesan until well combined.

TO BAKE: 
Preheat the oven 350 degrees F.
You can cut the bread straight down (pictured) or slightly diagonal.
 Keep each piece slightly attached by not cutting all the way through.
Done.
Now spread the butter mix with a flat spatula on one side of each piece.
 Don't worry, be generous. It'll all melt away and everyone will be happy.

 Lay the bread on a piece of foil.
 And wrap it nice and tight. 
Place it in the oven for the first 10 minutes. 
Middle rack should do nicely.
After 10 minutes, take it out and add a sprinkle of grated parmesan cheese to the top. 
Cover it up in the foil and bake another 10 minutes on the highest rack. 
After the last 10 minutes, open up the middle of the foil and broil for 1-2 minutes. 
Make sure you watch every second of the broil because this is where it can burn all your hard work away. I kept it on the middle rack and tried to broil it a few minutes longer. 
It burned a little (at 3-4 min. broil, top rack) but it was still so delicious! Set aside uncovered to give it the perfect crisp.
At this time (while its still warm and pliable), cut and detatch each slice for easier serving. You can grab it by the foil if its still hot.
Here's a bread I broiled for 3 minutes, middle rack. Its also a diagonal cut as mentioned earlier.
Here's a bunch of breads I baked for a class luncheon.
Here's the bread cut lengthwise in half. If its not foiled, you can cut the time in half by baking only 10 minutes. Then broil for 3 minutes, top rack. The left side is the herb-garlic-butter and on the right is just butter. 
okay...

TO GRILL:
Repeat the spreading process and grill each piece for 2-3 minutes on each side. 
I grilled these at a pool party! 
I grilled these at a hotel timeshare.

Try adding bacon, pancetta or prosciutto!

TO WELSH RAREBIT:
Melt 1/2 cup of cheddar cheese and 2 tbsp butter in a sauce pan, add 1/2 tsp. of mustard, a pinch of cayenne pepper and a dash of worcestershire. You can add 1 tbsp of milk (or and egg yolk or a whole sunny side egg) if you want. Spread this on each slice of bread and broil. Garnish with chives or any herb you like. 

TO STORE:
I love freezing the butter, its so useful to always have it on hand. 
 Just take some wax paper. 
 Plop the butter mix onto the wax paper.
 Fold and gently press to flatten.
You can roll it or just keep it like this. Ive rolled it before by running your finger down the right side to push the butter closer to the middle. But since I had a lot extra, I froze it in this form. 

Happy eating everyone!